|
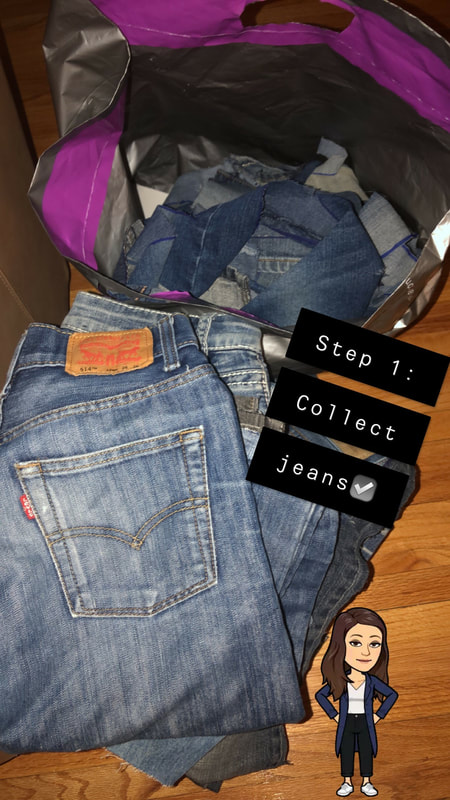
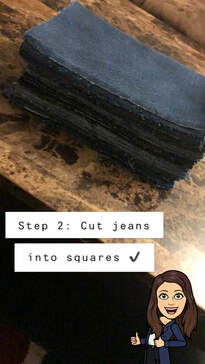
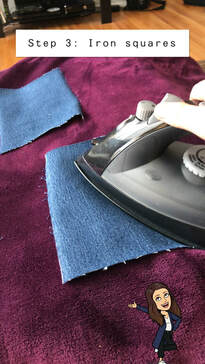
This week my learning project is beginning to finally take off. I have finally begun taking the steps to making a blanket as a final project. I got my hands on a sewing machine and read through the instruction manual, as well as reviewed the sewing machine instructions/videos that I talked about in last week's blog post. I decided on creating a jean quilt which I am hoping to use as a beach blanket as summer is fast approaching. I received many great tips after reading a blog called "How to Make a Gorgeous Denim Quilt from Blue Jeans". I also used the instructions provided by Instructables. I then decided to create my own steps with pictures (with my Bitmoji of course) to help me keep track of my progress, but also to help anyone else out who might want to try this some day. Step 1: Collect Jeans = Lucky for me, my mother had three boxes filled with old jeans. My strategy was to pick the lightest jean material. Since this will be a beach blanket and will be carried to the beach, I want it to be as light as possible. So all the thicker material jeans went in the no pile. After that, I tried to focus on colours - what kind of schemes I wanted. This was a little harder as the jeans came in all different shapes or sizes, so for many of them I did not know how many squares I could get out of each pair of jeans. Step 2: Cut the jeans into squares = this took me almost three hours to do. I might just be slow, but it took forever to figure out what size I wanted the squares (they are rectangles in my case) and then actually cut them. My thumb felt bruised after doing this from the constant pressure of the scissors. But it was all worth it because I got my squares. I forgot to take a picture of them all laid out so I'll post a picture of my pattern next week. Step 3: Iron the squares = this is important because after cutting them, they are folding all over the place so this is a crucial step to making sewing them together easier. The trick is to not use steam as with jeans, they will become more damp and that makes them harder to deal with as they do not dry as fast. Simply iron over the squares a few times and they are good to go.
This week has gotten me so much more excited for my blanket now that I can see it is beginning to come together. These may seem like three small steps, but they took quite a bit of effort. I am very excited to see how my blanket turns out and a little scared to start sewing, but more excited!
1 Comment
Erinn Flory
3/12/2019 01:47:27 pm
This is such a cute idea! I love it. Cannot wait to see the progress. Leave a Reply. |
AuthorHillary Mercier is a 4th Year Student at the University of Regina. She is currently studying to be a High School English teacher. Archives
April 2019
Categories |
 RSS Feed
